
Hi,
Thanks to all the advice on here and a fellow member Martin Millener who built me a Megajolt I have managed to get
my Midas Gold up and running with megajolt.
In addition, I have managed to get bluetooth working on the serial port using a Socketcom cordless serial adapter and a Sony Vaio C1MGP picturebook laptop with built in bluetooth. What this means is I can wirelessly (between 10 and 100 metres away depending on conditions) plug into the Megajolt and adjust the map settings etc via the configuration software.
I had to hack the circuit on the back of the serial port to put in 3 jumper wires. 1 wire from Pin 1 to Pin 4, 1 wire from Pin 1 to Pin 6 and another wire between pin 7 and pin 8. This is to enable handshaking to work with the socketcom cordless serial adapter as it only has flow control option set to CTS/RTS. Shorting these pins on the serial port does not appear to have an effect on the usual serial cable method for backup purposes as the data runs on pins 2, 3 and 5. In addition, this is a well documented hack on the rs232 port to make it universal.
I powered up the Socketcom cordless serial adapter from an external source through a 5v cigarette adapter, but I think it may be possible to run a +5v to pin 9 on the serial port to run it without external power.
Happy to discuss.
Kind regards,
David
Midas Gold A Series engined car controlled by bluetooth
Moderators: JeffC, rdoherty, stieg, brentp
Hi Brent, Yes I promise I will post some pictures up of car and setup as soon as I get my camera on it.
There are pictures of the Midas at this site:
www.midascars.net
I think one or two were shipped to the US at some point. If you have heard of the Mini Marcos, its kind of like its grandaughter using some mini running gear, including the A series engine.
The bluetooth option was an idea I had floating around my head for a while before getting the Megajolt kit. I had a look at other serial devices such as a bluetooth telescope which use the same idea to control the rotor motors:
see link:
http://www.bisque.com/tom/bluetooth/bluetooth.asp
Here there are various other similar plug in rs232 serial devices.
I did some more research and saw that the Megasquirt has also done this too (in fact they used same device as me)
see link:
http://www.megamanual.com/com/bluetooth.html
.......so I followed the hacks mentioned on both these sites to get the comms working. Problem with the socket cordless serial device is that flow control is set to rts/cts whereas I think the flow control is set to none on the Megajolt. Bridging the pins fools the device and cancels it out. I guess an alternative, but slightly more messy way of doing it would be to make a Kludge cable, which has the bridges in that instead of bridging the pins on the circuit board.
Seems to work nicely. Certainly put a nice smile on my face when I saw all the figures come on, with my laptop on the bench. .
.
I had a walk around the garden with laptop on hand and everything still appeared fine. It disconnected the odd time at further distances, but a reconnect was more or less seemless.
I anticipate the odd bit of lag for reporting to the configuration tool, but as long as it gives the figures I need to set up, should be fine for my needs.
For flash upgrading firmware though I would advise to continue to use a hardwire cable.
Incidently, I was using the latest v3 board.
Kind regards,
David
There are pictures of the Midas at this site:
www.midascars.net
I think one or two were shipped to the US at some point. If you have heard of the Mini Marcos, its kind of like its grandaughter using some mini running gear, including the A series engine.
The bluetooth option was an idea I had floating around my head for a while before getting the Megajolt kit. I had a look at other serial devices such as a bluetooth telescope which use the same idea to control the rotor motors:
see link:
http://www.bisque.com/tom/bluetooth/bluetooth.asp
Here there are various other similar plug in rs232 serial devices.
I did some more research and saw that the Megasquirt has also done this too (in fact they used same device as me)
see link:
http://www.megamanual.com/com/bluetooth.html
.......so I followed the hacks mentioned on both these sites to get the comms working. Problem with the socket cordless serial device is that flow control is set to rts/cts whereas I think the flow control is set to none on the Megajolt. Bridging the pins fools the device and cancels it out. I guess an alternative, but slightly more messy way of doing it would be to make a Kludge cable, which has the bridges in that instead of bridging the pins on the circuit board.
Seems to work nicely. Certainly put a nice smile on my face when I saw all the figures come on, with my laptop on the bench.
I had a walk around the garden with laptop on hand and everything still appeared fine. It disconnected the odd time at further distances, but a reconnect was more or less seemless.
I anticipate the odd bit of lag for reporting to the configuration tool, but as long as it gives the figures I need to set up, should be fine for my needs.
For flash upgrading firmware though I would advise to continue to use a hardwire cable.
Incidently, I was using the latest v3 board.
Kind regards,
David
was reading this thinking its an awesome idea and what about hijacking the on-board 5v supply and putting a switch on the mj unit to toggle it on and off as per your reqirments. but you already mentioned that! what sort of current can the 5v supply handle brent?? also what about adapting the mjlj tuner program to run a mobile phone, tune your car on your mobile! thet would be a good advert!
DO SOMETHING SILLY, TURBO AN 1100CC METRO
As promised here are some photos of the installation in the Midas Gold Coupe:
I have a white one too which is a Midas Gold Convertible.....can you see it in the paint reflection? I have another megajolt ready to fit in that, although that one will be running using a TPS as it runs on a hotter cam, 7 port head and twin 40 DCOE webers.

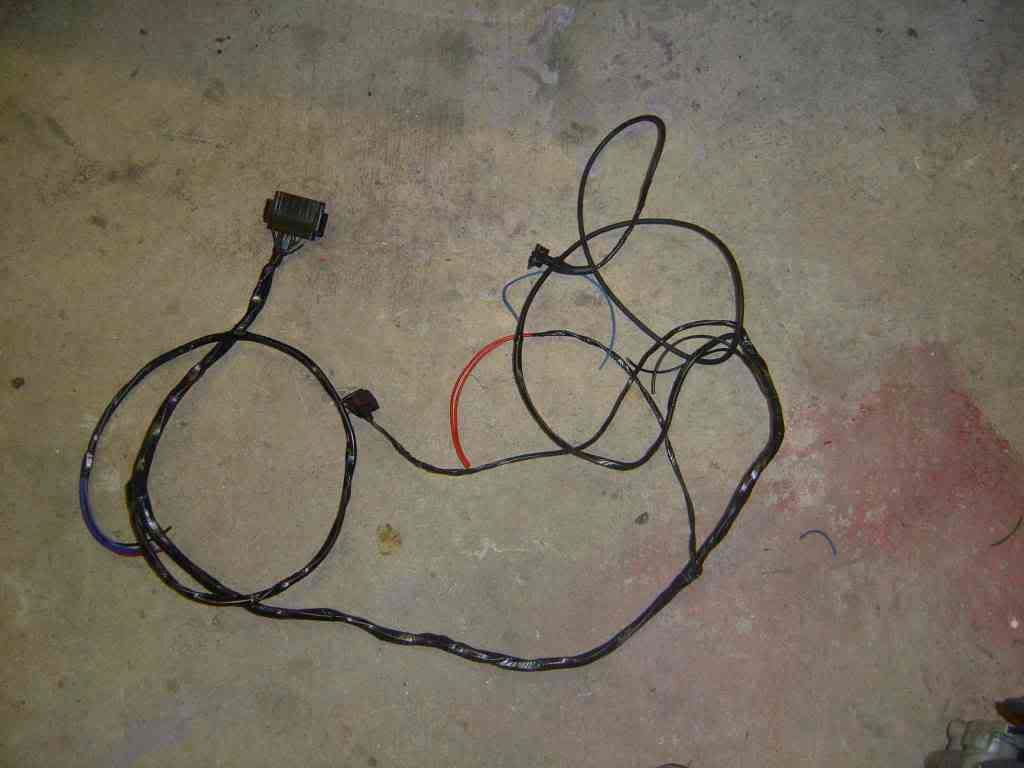
Wiring loom made up using the tails from the Coilpack, EDIS4 and the sensor. These were mainly connected by soldering the wires together and then heat shrinking sleeves on for moisture protection. I designed the loom to be self contained, just in case I wanted to revert back (unlikely!). It runs off the +ve signal to the coil to a switched relay. As others have noted, occasionally the relay stayed energised even when the ignition was off, possibly due to the alternator light, so thats why it is switched. Handy though as an immobiliser as the car wont start without it being switched on. Fortunately for me I didnt have to mess about with diodes from the coilpack. The rev counter works fine straight from the megajolt line.
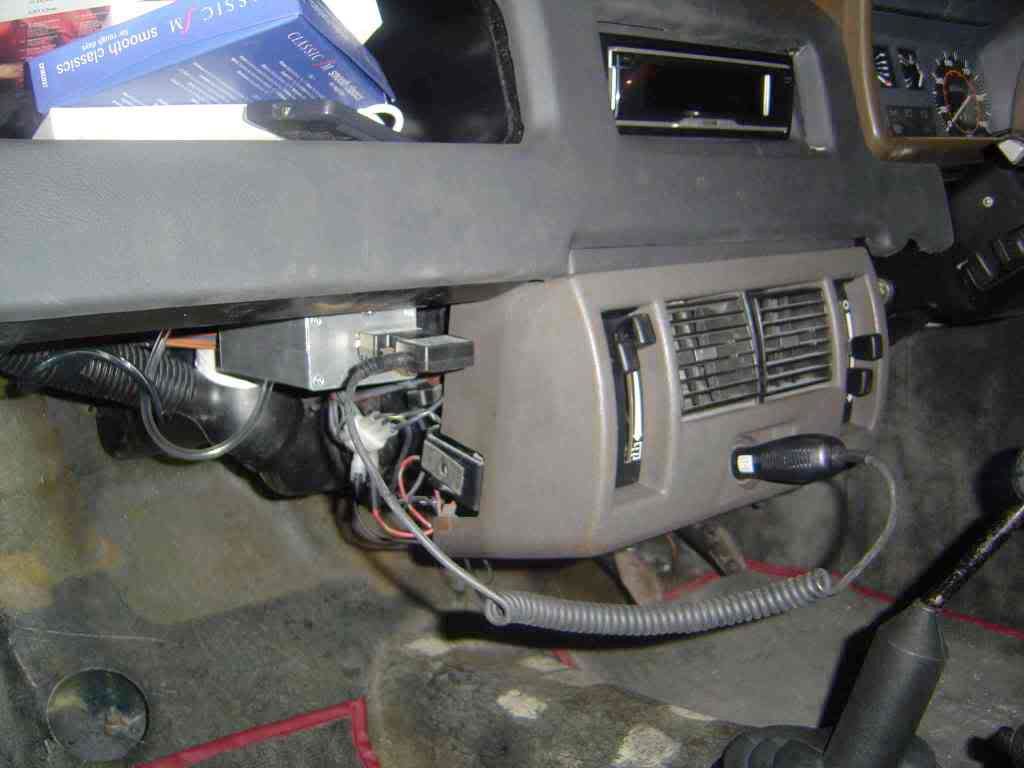
Megajolt installed under the dash readily accessible to plug the Socketcom bluetooth serial adapter in, powered by a 5v cigarette adapter (same as the iPaq)
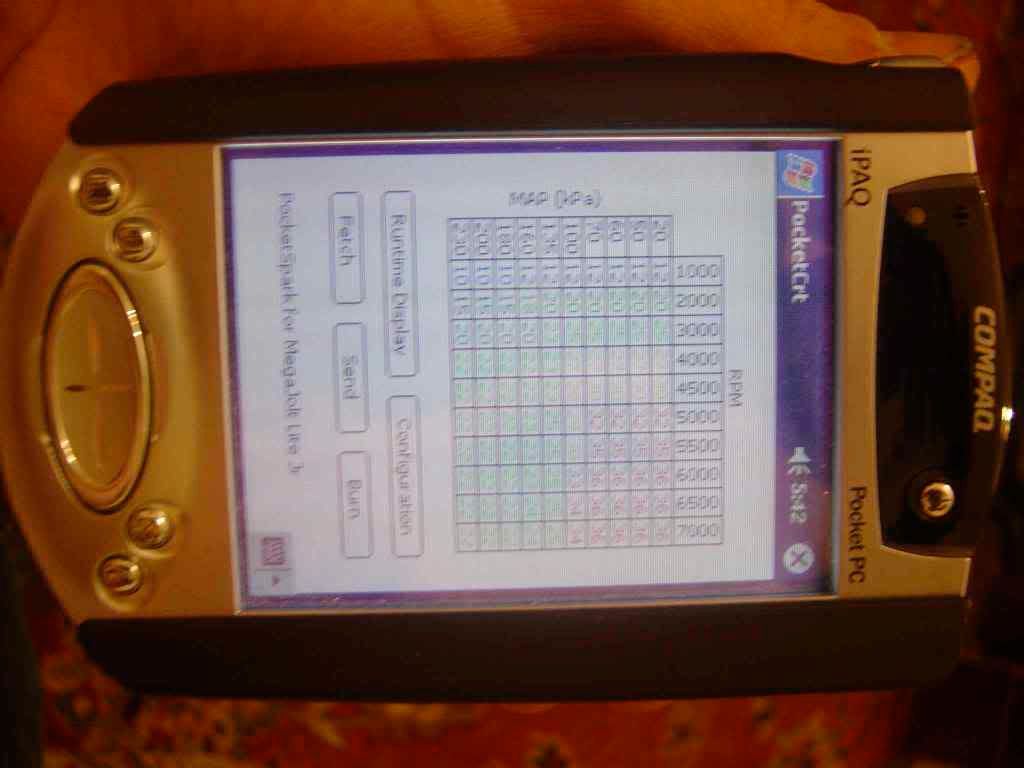
Bluetoothing from iPaq
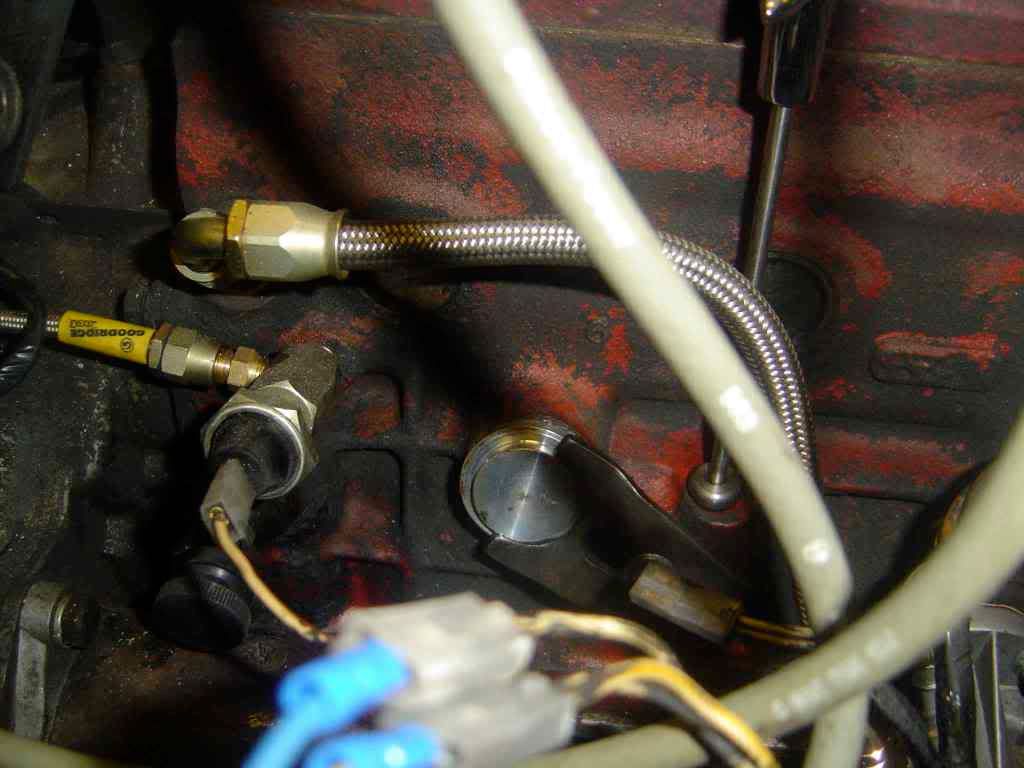
Blanking plug for the distributor now its not required. I took out the dizzy drive spindle too as it wasnt needed. I didnt fancy that flicking around inside the block!
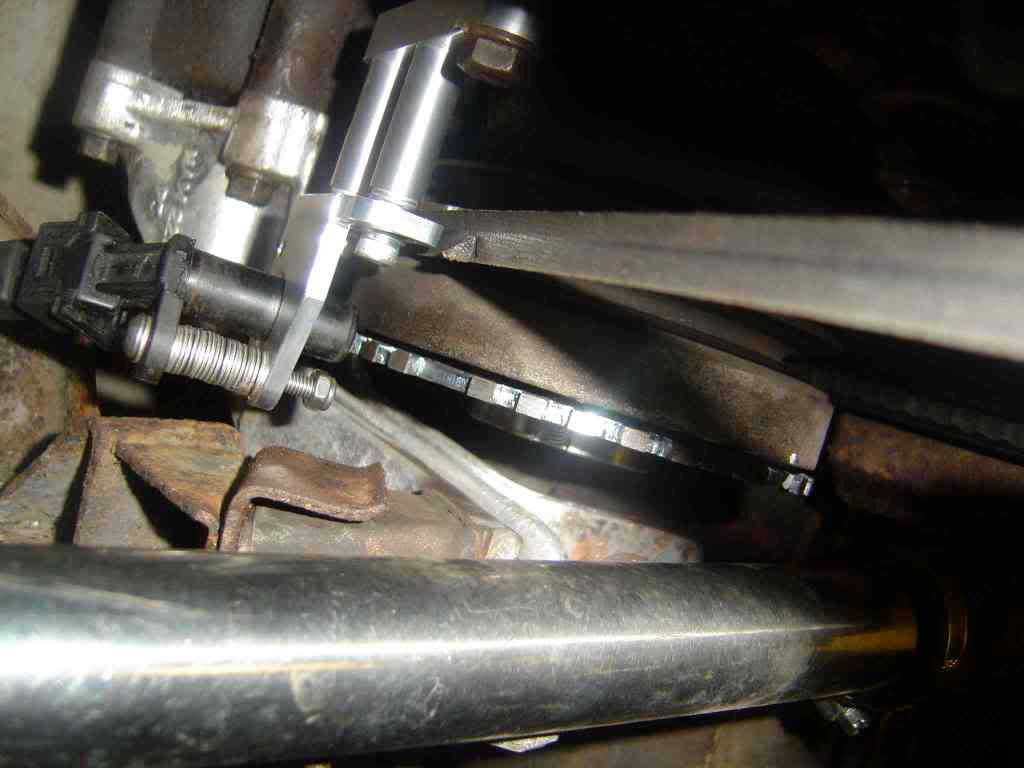
Trigger wheel and sensor bracket (here you can clearly see the missing -1 tooth on the trigger wheel)
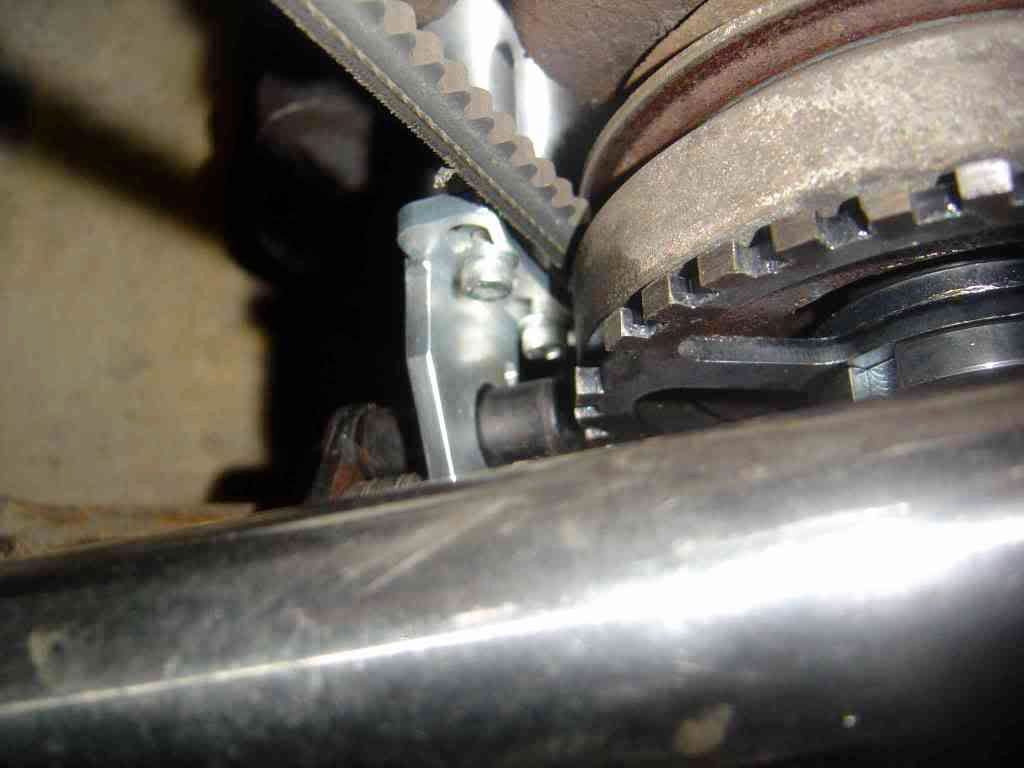
Another angle of trigger wheel and sensor
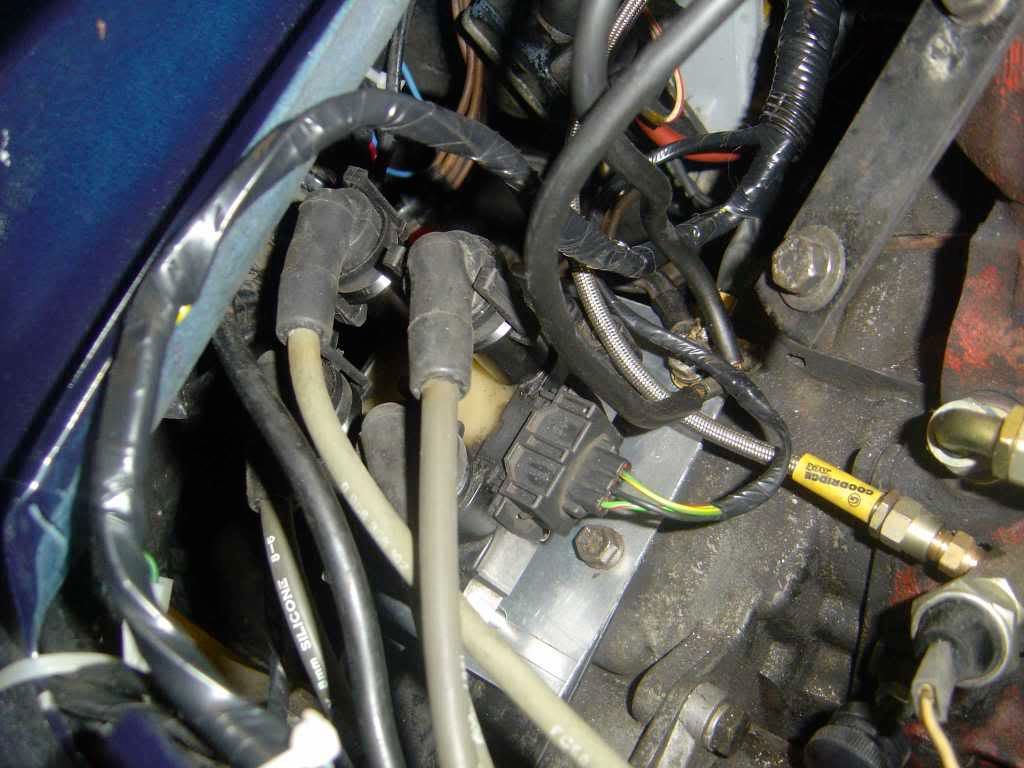
EDIS4 fitted to bulkhead (here wires were temporarily bulleted on before I soldered them up to make sure it was working correctly...which it was!)

Coilpack fitted on a square alloy plate on clutch cover of engine (A+ series as used by many BL/Austin/Rover engined cars).
 [/img]
I have a white one too which is a Midas Gold Convertible.....can you see it in the paint reflection? I have another megajolt ready to fit in that, although that one will be running using a TPS as it runs on a hotter cam, 7 port head and twin 40 DCOE webers.
Wiring loom made up using the tails from the Coilpack, EDIS4 and the sensor. These were mainly connected by soldering the wires together and then heat shrinking sleeves on for moisture protection. I designed the loom to be self contained, just in case I wanted to revert back (unlikely!). It runs off the +ve signal to the coil to a switched relay. As others have noted, occasionally the relay stayed energised even when the ignition was off, possibly due to the alternator light, so thats why it is switched. Handy though as an immobiliser as the car wont start without it being switched on. Fortunately for me I didnt have to mess about with diodes from the coilpack. The rev counter works fine straight from the megajolt line.
Megajolt installed under the dash readily accessible to plug the Socketcom bluetooth serial adapter in, powered by a 5v cigarette adapter (same as the iPaq)
Bluetoothing from iPaq
Blanking plug for the distributor now its not required. I took out the dizzy drive spindle too as it wasnt needed. I didnt fancy that flicking around inside the block!
Trigger wheel and sensor bracket (here you can clearly see the missing -1 tooth on the trigger wheel)
Another angle of trigger wheel and sensor
EDIS4 fitted to bulkhead (here wires were temporarily bulleted on before I soldered them up to make sure it was working correctly...which it was!)
Coilpack fitted on a square alloy plate on clutch cover of engine (A+ series as used by many BL/Austin/Rover engined cars).
[/img]
Last edited by manifold on Wed Mar 28, 2007 10:42 pm, edited 1 time in total.